This is my original article (published May 2023), translated from a Habrahabr. I decided to remove all old articles from it and store it only in my personal blog because I don't like moral position of Habr audience.
Good day to all developers, engineers, and automators who stumbled upon this guide. If your project is running on Vercel and you've dabbled in automation, then this quick guide is right up your alley.
The story is short and sweet, much like most things in Vercel – adding your automated tests is straightforward and quick. And yes, there are two ways to go about it.
Using GitHub Actions
Original reference here if you want to go into the weeds. This method is ideal if you already have a solid foundation of automated tests or if you’re using Selenium, Cypress, or similar frameworks (but not Mocha, Puppeteer, or Playwright – we’re talking the heavier hitters here). All is powered by GitHub Actions. All you need is to add or update a file in your project’s directory: .github/workflows/e2e.yml (name it whatever suits your fancy, as long as it aligns with the tests you’re running).:
name: E2E Tests

on:
  deployment_status:

jobs:
  e2e-tests:
    runs-on: ubuntu-latest
    if: github.event.deployment_status.state == 'success'
    steps:
      - name: Checkout
        uses: actions/checkout@v2

      - name: Setup Node.js
        uses: actions/setup-node@v2
        with:
          node-version: 18

      - name: Install pnpm
        run: curl -fsSL https://get.pnpm.io/install.sh | env PNPM_VERSION=9.12.3 sh - | node - add --global pnpm

      - name: Install dependencies
        run: pnpm install

      - name: Run E2E tests
        run: |
          if [ "${{ env.VERCEL_ENV }}" != "production" ]; then
            my_param="qa"
          else
            my_param=""
          fi
          npx cypress run --config-file "cypress.config.ts" --config specPattern="cypress/e2e" baseUrl=${{ github.event.deployment_status.target_url }} --env nice_param=$my_param allure=true --spec "cypress/e2e/base.cy.js,cypress/e2e/meta.cy.js"
        continue-on-error: true
        id: e2e_tests

      - name: Generate Allure report
        if: always()
        run: pnpm run allure:generate allure-results

      - name: Archive Allure report
        run: zip -r allure-report.zip allure-report

      - name: Upload Allure report
        uses: actions/upload-artifact@v2
        with:
          name: allure-report
          path: allure-report.zip

      - name: Check test status (finally)
        if: ${{ steps.e2e_tests.outcome == 'failure' }}
        run: exit 1
You could replace Cypress with anything else you’re using – pytest/Selenium, for instance – and set up the environment with something like tox. Or, if you’re feeling adventurous, go ahead and trigger a third-party service or webhook. Here are a few things to note:
if: github.event.deployment_status.state == 'success'
- Tests will only run if the deployment is successful (courtesy of a webhook trigger).
- You’ll likely want to customize tests or parameters based on the environment being deployed. In this example, if the deployment isn't for production, we add the "my_param" parameter, which will be picked up by the tests. The Vercel environment itself is available through the env.VERCEL_ENV variable.
if [ "${{ env.VERCEL_ENV }}" != "production" ]; then
  my_param=""
else
  my_param="qa"
fi
The base URL (base_url) for testing lives in a variable as well:
${{ github.event.deployment_status.target_url }}
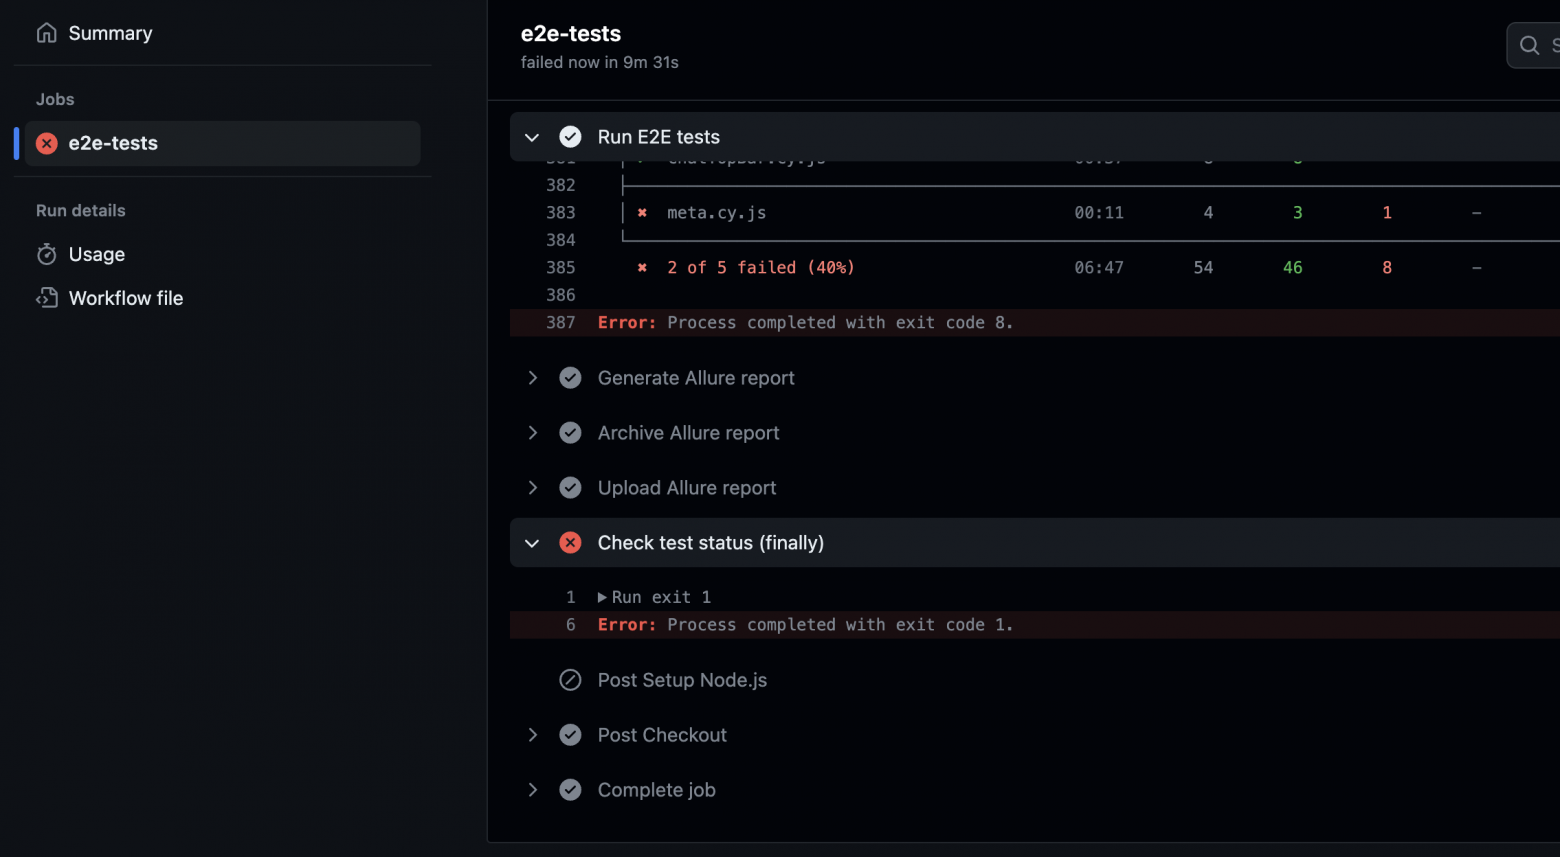
You can also add different tests or reports to various steps, such as using Allure-reports for test results. Upon completion, you’ll see the results in GitHub Actions (unless, of course, you’re calling in a heavy-duty service like Jenkins or some cloud testing platform).

A detailed log will show up here:
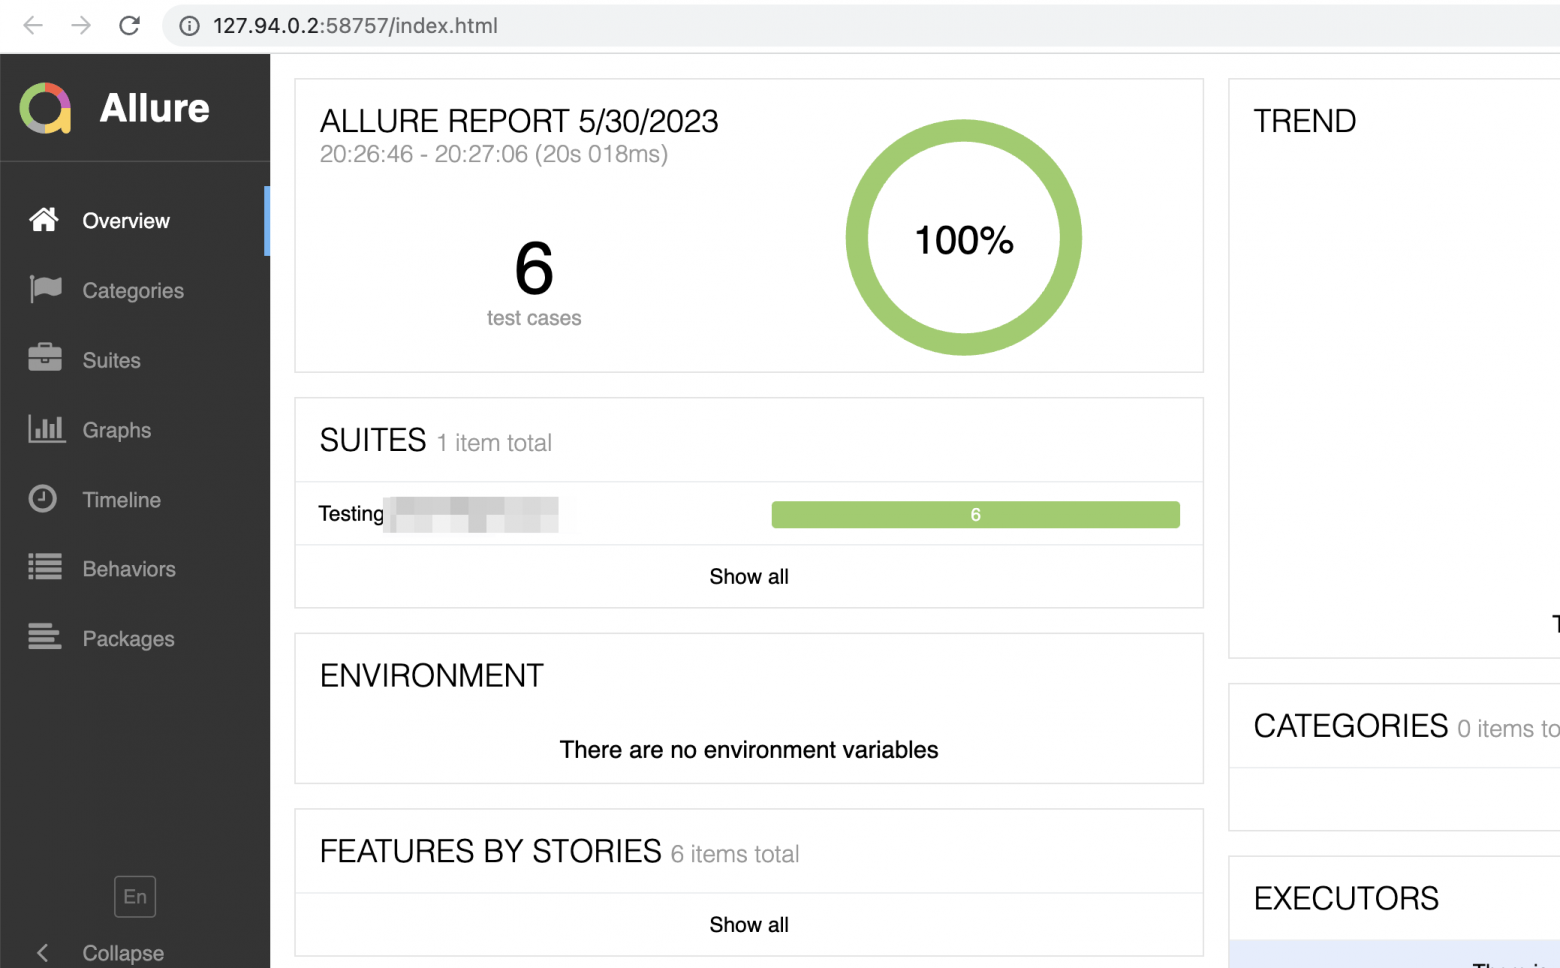
Report will be stored in Actions -> Run -> Summary -> Artifacts:
Using Checks
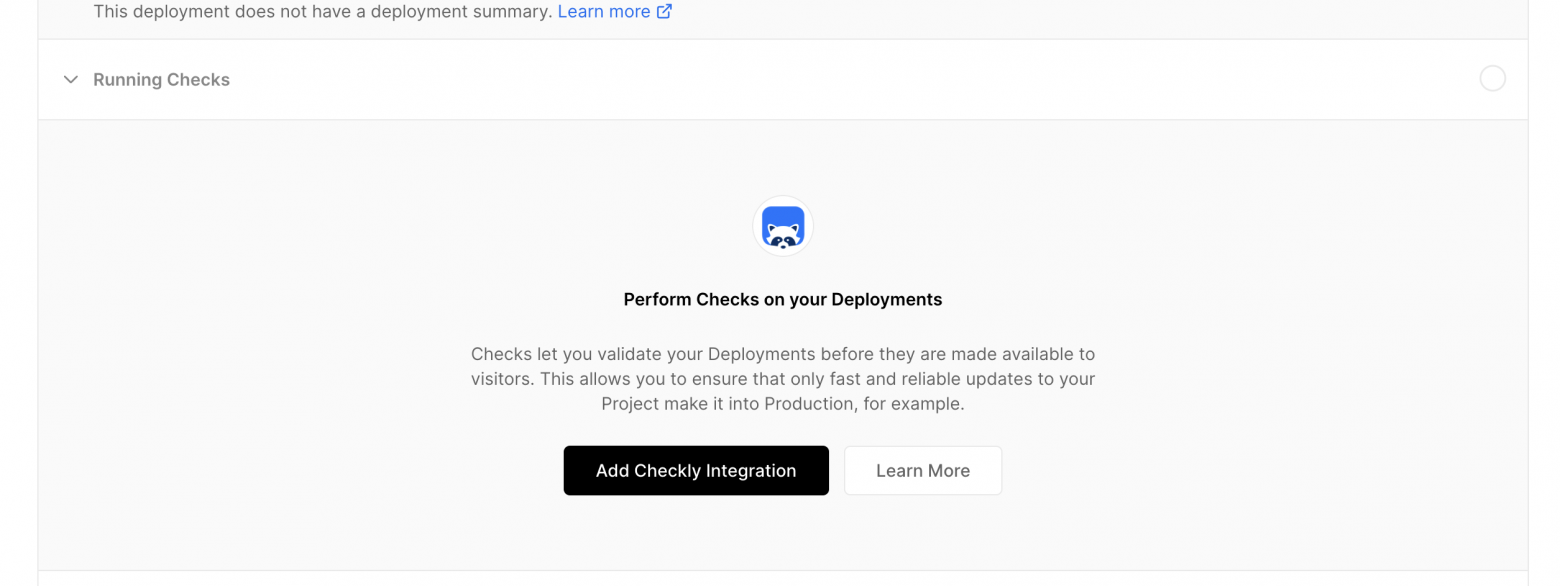
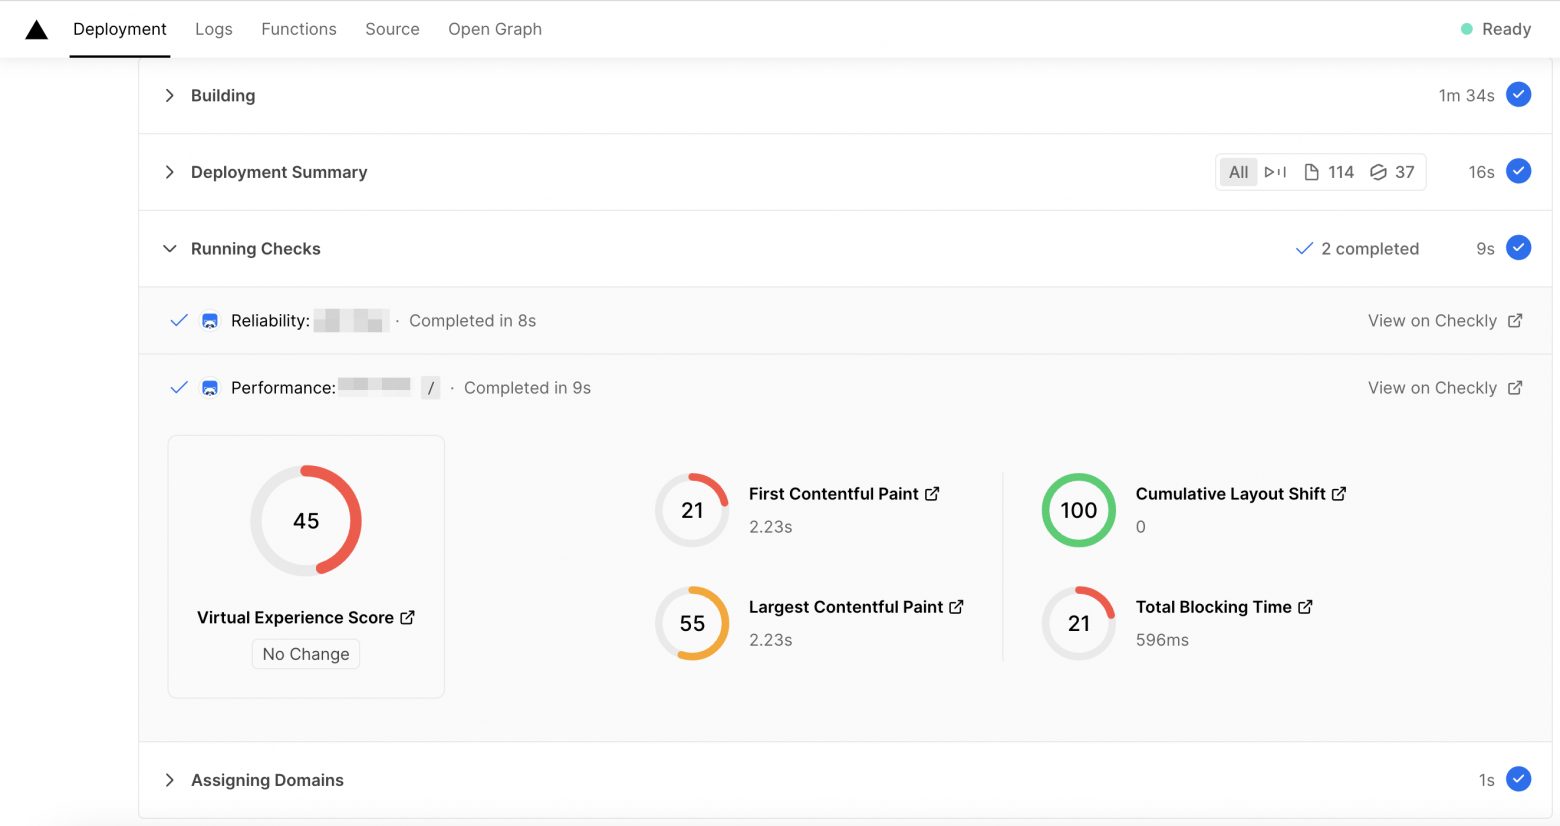
Alternatively, you can run checks directly within the Vercel deployment workflow via the Checks action. Write your own plugin (Integration) to check your deployment with the Checks API, or use an existing one like Checkly:
Checkly operates with Playwright tests, offering a base level of checks out of the box, which you can expand upon with your own tests:
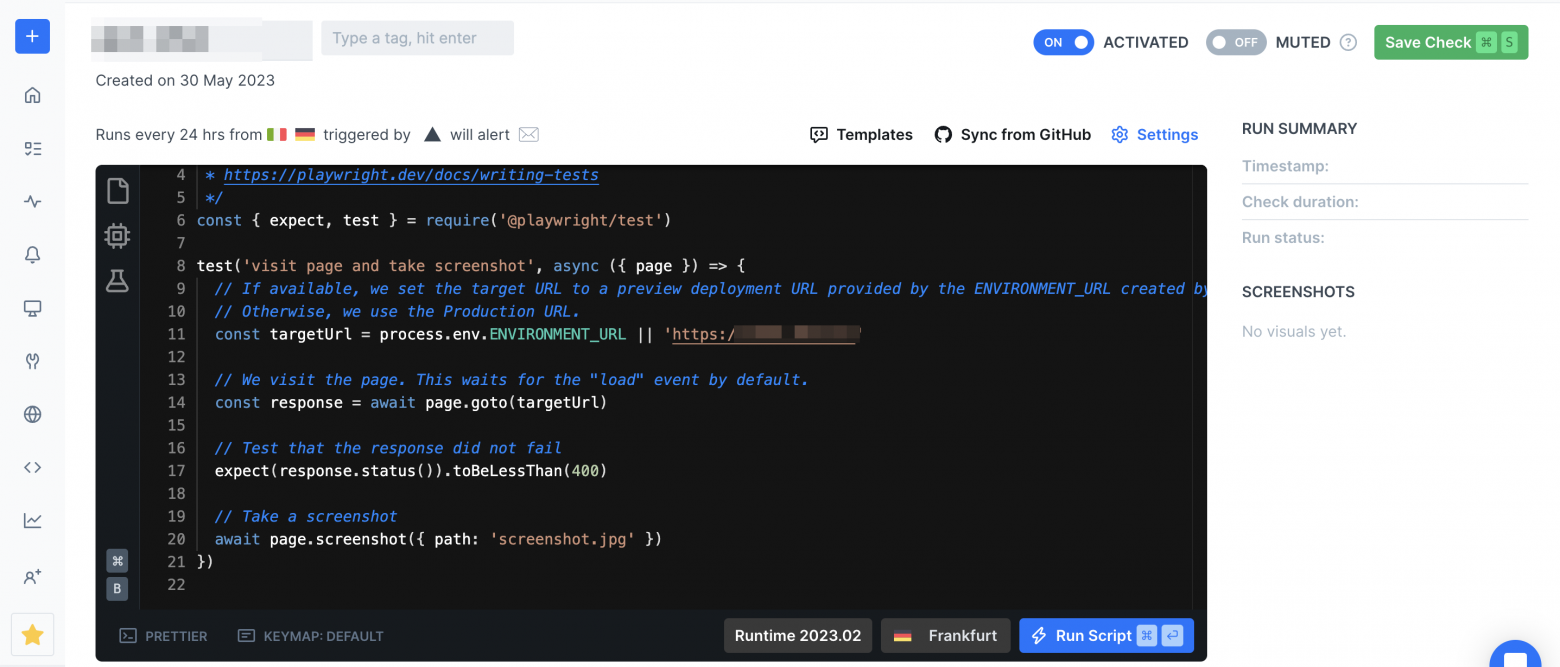
During deployment, these tests will run as a separate step, with results generated accordingly:
In Conclusion
As you can see, adding tests to Vercel projects is simple and fast.
That’s all, folks. If this guide has been a useful addition to your automation toolkit, feel free to like the post, drop a comment, or, if you’re feeling particularly generous, throw a coin my way.